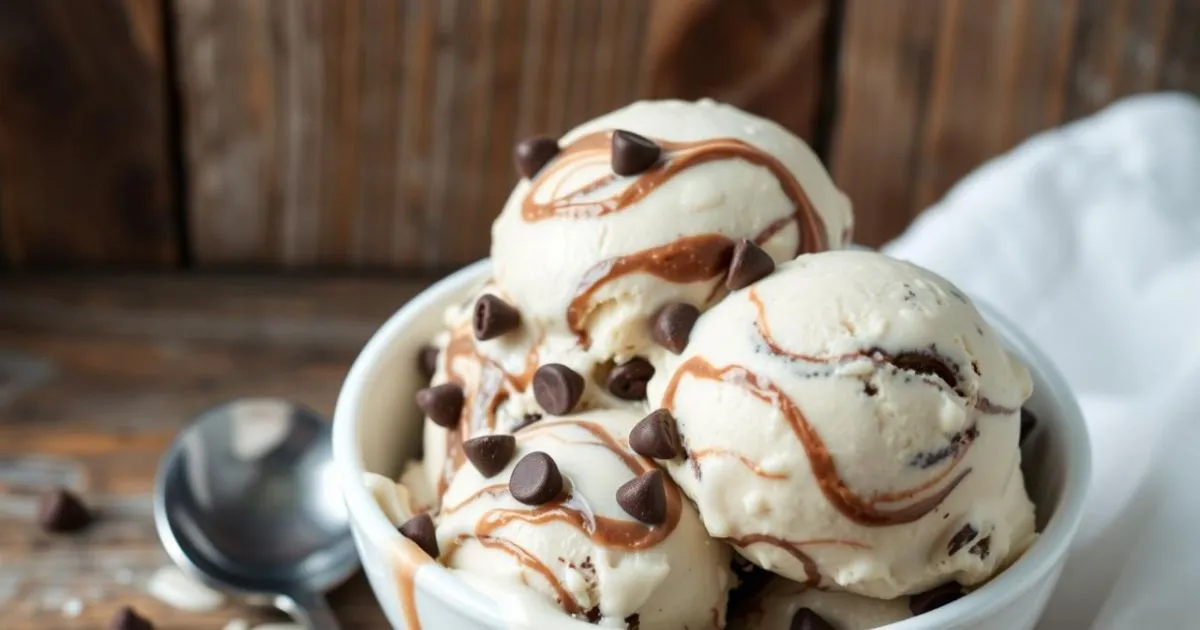
Delicious No-Churn Chocolate Chip Ice Cream
Every summer, I’d stand by my grandmother’s kitchen counter. She’d turn simple ingredients into magical frozen treats. The creamy, chocolate-studded ice cream was always the best part of our gatherings. Today, I’m excited to share a no-churn chocolate chip ice cream recipe that brings back those cherished memories.
Making easy homemade ice cream without a machine is surprisingly simple. This no-machine ice cream method needs just a few ingredients and little effort. You’ll be amazed at how quickly you can make a rich, decadent dessert that rivals any store-bought version.
The secret to perfect no-churn chocolate chip ice cream is heavy whipping cream and sweetened condensed milk. With these pantry staples, you can turn your kitchen into an artisan ice cream shop in just minutes.
Table of Contents
The Magic of No-Churn Ice Cream Making
Making creamy chocolate ice cream is now super easy with the no-cook method. This simple recipe turns making desserts at home into a fun activity for all.
The no-churn method makes ice cream easy to make without fancy equipment. You’ll find it’s really simple!
Understanding the No-Churn Method
No-churn ice cream uses a clever trick: whipped cream instead of churning. This creates a light, creamy texture that’s just as good as store-bought.
- No special equipment required
- Minimal ingredients needed
- Quick preparation time
- Consistent, smooth texture
Benefits of Making Ice Cream Without a Machine
Homemade no-cook ice cream has many perks. It saves money, cuts down on kitchen mess, and lets you get creative with flavors.
| Traditional Method | No-Churn Method |
|---|---|
| Requires ice cream machine | Uses standard kitchen tools |
| Complex preparation | Simple 15-minute process |
| Multiple steps | Few ingredient mixing |
Basic Science Behind No-Churn Ice Cream
The magic comes from how ingredients work together. Sweetened condensed milk adds sweetness and stops ice crystals. Whipped cream adds air for that creamy feel.
“Simplicity is the ultimate sophistication in dessert making” – Kitchen Wisdom
Essential Ingredients for Perfect No-Churn Chocolate Chip Ice Cream
Making a delicious condensed milk ice cream needs the right ingredients. Each one plays a key role in making a creamy, rich dessert. This dessert will taste like it came from a fancy ice cream shop.
The main ingredients for your ice cream are crucial for its smooth texture. Let’s look at what you need:
- Heavy Whipping Cream (2 cups): Must have at least 30% fat for the best taste and texture
- Sweetened Condensed Milk (14 ounces): Adds sweetness and a creamy feel
- Vanilla Extract: Boosts the flavor
- Mini Chocolate Chips (½ cup): Adds a fun texture
When making your chocolate chip ice cream, think about the nutrition too. A serving has about:
| Nutrient | Amount per Serving |
|---|---|
| Calories | 527 kcal |
| Total Carbohydrates | 50g |
| Protein | 7g |
| Total Fat | 33g |
“The secret to perfect no-churn ice cream lies in the quality of your ingredients and the technique of combining them.”
Pro tip: Use mini chocolate chips for even distribution and a smooth texture. Pure vanilla extract will make the flavor unforgettable.
Step-by-Step Preparation Process
Making delicious no-machine ice cream is easier than you think. This simple recipe will show you how to make creamy chocolate chip ice cream that’s as good as store-bought.
Whipping the Cream to Perfection
The secret to smooth no-machine ice cream is in the whipped cream. Use heavy whipping cream that’s chilled well. Here’s how to do it:
- Use a cold mixing bowl for best results
- Whip cream at medium-high speed
- Stop when soft peaks form (about 3-5 minutes)
- Avoid over-whipping to maintain a light texture
Incorporating Chocolate Chips
Chocolate chips are the highlight of this easy homemade ice cream. Fold them into your mix gently to keep it airy.
Freezing Techniques for Best Results
| Freezing Stage | Duration | Tips |
|---|---|---|
| Initial Freezing | 4 hours | Use a deep, airtight container |
| Total Storage Time | Up to 2 months | Keep sealed and away from strong-smelling foods |
Pro tip: Cover the surface with plastic wrap to prevent ice crystals from forming.
“The secret to great no-machine ice cream is patience and gentle handling of your ingredients.”
Your simple ice cream recipe makes about 6-8 servings. Here’s what you can expect nutrition-wise:
- Calories per serving: 501 kcal
- Total fat: 31g
- Total sugars: 47g
- Protein: 5g
Tips for Achieving the Creamiest Texture
Making the perfect creamy chocolate ice cream is more than just mixing. The texture of your frozen treat depends on key factors. These can turn a simple summer treat into a special delight.
Temperature is crucial for a smooth, velvety texture. Cold ingredients are essential for no-churn ice cream. Here are some expert tips for the creamiest results:
- Chill your mixing bowl and beaters for 30 minutes before whipping cream
- Use heavy whipping cream straight from the refrigerator
- Avoid overbeating cream to prevent grainy texture
Mixing technique is vital. Gently fold ingredients to keep air bubbles and avoid deflation. Slow and steady wins the creamy race!
“The key to perfect ice cream is patience and precision in preparation.” – Professional Pastry Chef
| Technique | Impact on Texture |
|---|---|
| Chilled Ingredients | Prevents ice crystal formation |
| Gentle Folding | Maintains smooth consistency |
| Proper Freezing | Ensures creamy mouthfeel |
Freezing method is also key. Cover your ice cream with plastic wrap to prevent freezer burn. Freeze for 24 hours for the best texture and flavor.
- Use an airtight container
- Store at consistent freezer temperature
- Let ice cream sit at room temperature for 5-10 minutes before serving
Chocolate Chip Selection and Addition Methods
Making the best no-churn chocolate chip ice cream begins with picking the right chocolate. Think about the types of chips, how they’re spread out, and their taste.
Exploring Chocolate Chip Varieties
Choosing the right chocolate chips can change your ice cream experience. Here are some options:
- Milk chocolate chips for a sweeter taste
- Dark chocolate chips for intense flavor
- Semi-sweet chips for balanced sweetness
- Mini chocolate chips for even distribution
Achieving the Perfect Chocolate-to-Ice Cream Ratio
Finding the right amount of chocolate chips is key. Aim for about 6 ounces (170.1 g) of chips per 2 cups of ice cream base.
| Chocolate Chip Type | Recommended Quantity | Texture Impact |
|---|---|---|
| Mini Chocolate Chips | 6 oz | Most even distribution |
| Regular Chocolate Chips | 4-5 oz | More noticeable chunks |
| Chopped Chocolate Bars | 5-6 oz | Rustic, uneven texture |
Creative Chocolate Alternatives
Try something different from regular chips. Here are some ideas:
- Chocolate-covered espresso beans
- Flavored chocolate chips
- Chocolate shavings
- Cocoa nibs for added crunch
“The secret to an amazing no-churn chocolate chip ice cream is finding your perfect chocolate balance.” – Artisan Ice Cream Maker
Storage and Serving Recommendations

A close-up of a clear, airtight container filled with creamy no-churn chocolate chip ice cream, resting in a modern freezer. The ice cream is dotted with rich chocolate chips and has a smooth, glossy surface. Surrounding the container are kitchen utensils like a scoop and a spoon, with a hint of frost on the container’s lid, conveying a sense of freshness and coldness. Soft, natural light filters through the freezer door, highlighting the enticing texture of the ice cream.
Making the perfect frozen dessert is more than just cooking. It’s about how you store it. Storing your no-churn chocolate chip ice cream right keeps it tasting great and feeling smooth.
Keeping your homemade treat fresh is key. Use a container that’s safe for the freezer and keeps air out. This way, your ice cream won’t pick up freezer smells and won’t get icy. You can keep it in the freezer for up to 2 months, so it’s always ready to go.
“The secret to great no-churn chocolate chip ice cream is not just in making it, but in storing it right!”
Storage Best Practices
- Use a container with a tight-fitting lid
- Press plastic wrap directly onto the ice cream surface to prevent freezer burn
- Store at a consistent temperature of 0°F (-18°C)
Serving Tips
- Remove the ice cream from the freezer 15-20 minutes before serving
- Use a scoop dipped in warm water for easier scooping
- Serve in chilled bowls for an extra refreshing experience
When it’s time to enjoy, let the ice cream sit at room temperature for a bit. This makes it soft and creamy, perfect for melting in your mouth.
Pro tip: For the best taste and texture, eat it within a week of making it.
Creative Variations and Mix-In Ideas
Take your easy homemade ice cream to the next level by trying new flavors and mix-ins. Your summer treat doesn’t have to be just chocolate chip. With a few creative changes, you can make your ice cream a gourmet dessert.
Popular Flavor Combinations
Make your chocolate chip ice cream even better with these tasty pairings:
- Mint Chocolate Chip: Add 1-2 teaspoons of peppermint extract
- Salted Caramel: Swirl in 1/4 cup caramel sauce
- Coffee Chocolate: Mix in 2 tablespoons instant espresso powder
- Berry Chocolate: Fold in 1 cup mixed berry compote
Seasonal Mix-In Inspirations
Each season brings new chances to customize your no-churn ice cream:
| Season | Mix-In Ideas |
|---|---|
| Summer | Fresh strawberries, peaches, toasted coconut |
| Fall | Pumpkin puree, cinnamon, crushed graham crackers |
| Winter | Crushed peppermint, gingerbread cookie pieces |
| Spring | Lavender, lemon zest, edible flowers |
“Creativity is the key to transforming a simple dessert into a memorable culinary experience.” – Artisan Ice Cream Chef
When adding mix-ins, gently fold them in to keep the ice cream creamy. Have fun and create your perfect summer treat!
Troubleshooting Common Issues
Making the perfect no-churn chocolate chip ice cream can be tricky. Sometimes, your homemade ice cream might not be just right. But, most problems have easy fixes.
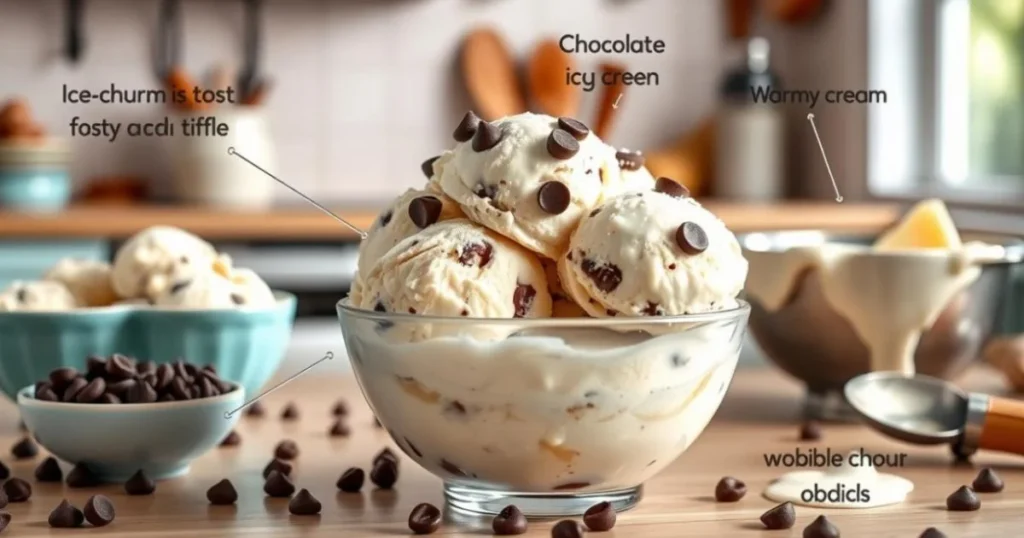
A colorful kitchen scene featuring a bowl of creamy no-churn chocolate chip ice cream with visible chocolate chips, surrounded by common issues represented visually, such as an ice cream that’s too icy with frost crystals, a melting scoop on a warm countertop, and an overflowing mixing bowl, all set against a bright, inviting background with kitchen utensils and ingredients like chocolate chips and heavy cream scattered around.
Here are the common issues you might face with your simple ice cream recipe:
- Grainy Texture: This happens when sugar doesn’t dissolve well. Fix it by mixing the sweetened condensed milk well before adding other ingredients.
- Ice Crystals Formation: To avoid big ice crystals, try these tips:
- Add 1/4 teaspoon of gelatin per 500ml of base
- Stir the mixture every 30 minutes during the first freezing
- Use 1-2 tablespoons of alcohol to lower the freezing point
- Difficulty Scooping: Let the ice cream sit at room temperature for 5-10 minutes before scooping.
“The secret to perfect homemade ice cream is patience and precision” – Ice Cream Experts
Temperature is key to your ice cream’s success. Chill your mixture to at least 4°C before freezing. Store it in an airtight container with plastic wrap on top to avoid freezer burn.
For even chocolate chip distribution, freeze them briefly before mixing them in. This keeps them from sinking and spreads them evenly in your no-churn chocolate chip ice cream.
Conclusion
Starting your journey to make easy homemade ice cream has opened a world of tasty options. The no-churn chocolate chip ice cream recipe shows that you can make gourmet desserts at home. With just a few ingredients and a little effort, you can turn simple items into a creamy treat perfect for summer.
This recipe is great because you can try different things. You can use different chocolate chips, add your favorite mix-ins, or even make new flavors. You have full control over what goes into your ice cream, avoiding artificial stuff found in store-bought ice cream.
But making no-churn chocolate chip ice cream is more than just cooking. It’s a chance to make memories. Whether it’s for a family gathering or a special treat for yourself, this recipe is both easy and rewarding. So, get creative, enjoy the process, and savor the sweet results of your cooking.
We encourage you to share your ice cream creations and unique twists on this recipe. Every batch has a story, and your kitchen adventures are just waiting to be shared. So, get your ingredients ready, let your creativity flow, and dive into the world of homemade ice cream.
FAQ
Do I need an ice cream maker to make this no-churn chocolate chip ice cream?
No, you don’t need an ice cream maker. This recipe is made without any special equipment. Just use a mixing bowl and whisk or electric mixer. The whipped cream and sweetened condensed milk make a creamy base that freezes well.
How long does it take to make no-churn chocolate chip ice cream?
It takes about 15-20 minutes to prepare. But, you need to freeze it for at least 6 hours, or overnight, for the best texture. So, it’s about 6-8 hours from start to finish.
Can I use different types of chocolate chips in this recipe?
Absolutely! Try milk, dark, or semi-sweet chocolate chips. Some like mint or caramel-filled chips. Just pick high-quality chips for the best taste.
How long can I store homemade no-churn chocolate chip ice cream?
Store it in an airtight container in the freezer for 2-3 weeks. For the best taste, eat it within two weeks.
Is this recipe suitable for people with dietary restrictions?
The basic recipe has dairy and sugar. But, you can make it dairy-free with coconut cream and dairy-free condensed milk. For less sugar, use sugar-free condensed milk or other sweeteners.
Why is my no-churn ice cream too hard to scoop?
It might be too cold. Let it sit at room temperature for 5-10 minutes before serving. Adding a bit of alcohol can also help.
Can I add other mix-ins besides chocolate chips?
Yes! Try chopped nuts, crushed cookies, caramel swirls, or fresh fruit. But, don’t add too much to keep the texture right.
What’s the best container for storing no-churn ice cream?
Use a freezer-safe container with a tight lid. A metal or glass loaf pan is good. Cover it with plastic wrap or foil to prevent freezer burn. Avoid big containers for even freezing.

