How to Perfect Chocolate Covered Ice Cream Bars Every Time
Imagine biting into a chocolate covered ice cream bar. It’s that magical mix of crunchy chocolate and smooth ice cream. This turns a simple dessert into a special treat. Making these treats at home is more than just a sweet craving. It’s a blend of skill, creativity, and love.
Chocolate covered ice cream bars have been a favorite for many years. They mix different textures and tastes in a way that excites everyone. Whether you’re new to cooking or have lots of experience, making these treats can be very rewarding.
This guide will show you how to make top-notch chocolate covered ice cream bars at home. You’ll learn about choosing the right ingredients and controlling temperatures. You’ll find out how to make frozen treats that will wow your family and friends.
Table of Contents
Understanding the Basics of Chocolate Covered Ice Cream Bars
Explore the world of frozen chocolate delights that have won over dessert fans everywhere. These ice cream bars, covered in rich chocolate, have grown from simple treats to gourmet delights. They excite your taste buds.
The History of Frozen Chocolate Delights
The story of chocolate on ice cream started in the early 1900s. Food makers found that chocolate could turn simple ice cream into a special treat. The first ice cream bars, dipped in chocolate, quickly became a hit worldwide.
- 1920s: First commercial chocolate-covered ice cream bars introduced
- 1940s: Mass production techniques improved coating quality
- 1960s: Variety of flavors and coatings expanded
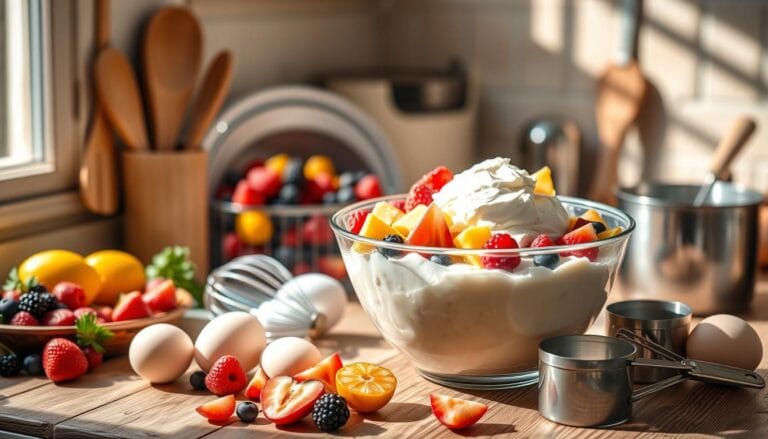
Essential Components and Ingredients
Making the perfect chocolate-covered ice cream bar needs care and quality ingredients. It has a creamy ice cream base and a smooth chocolate coating. This coating adds a nice crunch.
| Component | Purpose | Key Characteristics |
|---|---|---|
| Ice Cream Base | Flavor Foundation | Smooth, Creamy Texture |
| Chocolate Coating | Protective Shell | Crisp Exterior, Rich Flavor |
| Optional Add-ins | Texture Enhancement | Nuts, Cookies, Fruit Pieces |
Why Temperature Control Matters
Temperature is key to making perfect chocolate coatings for ice cream novelties. The right mix of frozen ice cream and melted chocolate makes your treat perfect.
“The magic of a chocolate-covered ice cream bar lies in its precise temperature control” – Dessert Artisan
Today, we see new twists like Greek yogurt bars with fruit and crunchy coatings. These changes show that frozen chocolate delights are always evolving and exciting.
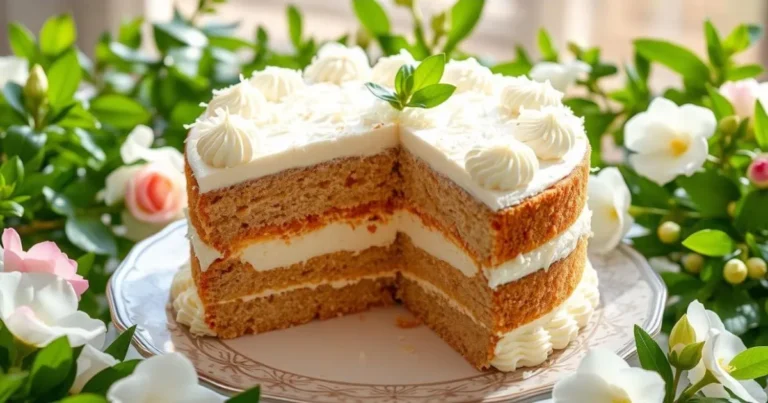
Selecting the Right Ice Cream Base for Your Bars
Making the perfect frozen desserts starts with a great ice cream base. Your dessert bars will only be as good as the base you choose. Traditional dairy-based ice creams are loved for their rich, creamy texture.
When picking your ice cream base, think about these important points:
- Fat content affects smoothness and feel in your mouth
- Flavor intensity changes the taste of your dessert
- Freezing point is key for the structure of your bars
For a classic choice, use a traditional custard base. It needs these key ingredients:
- 2.5 cups heavy cream
- 1.5 cups whole milk
- 1 cup sugar
- 1 large vanilla bean
- 10 egg yolks
“The secret to extraordinary dessert bars lies in the quality of your base ingredients.” – Professional Pastry Chef
For a healthier option, try using Greek yogurt. Non-dairy bases like coconut milk or almond milk are great for those with special diets.
Pro tip: Chill your custard mixture for 6-12 hours. This lets the flavors mix well, making your chocolate-covered ice cream bars taste even better.
Choosing the Perfect Chocolate Coating
Creating chilled chocolate bars needs careful picking of chocolate coatings. The right one can turn a simple ice cream bar into a fancy dessert.
The chocolate you choose greatly affects your dessert’s taste and feel. Let’s look at the top chocolate picks:
Chocolate Variety Breakdown
- Dark Chocolate: Rich, intense flavor with less sugar
- Milk Chocolate: Creamy, sweet taste for classic bars
- White Chocolate: Smooth, vanilla-like taste for lighter treats
Creating the Perfect Chocolate Shell
Experts say adding a bit of coconut oil to your chocolate is key. It makes the shell smooth and prevents cracks, improving the bar’s texture.
Temperature Precision Matters
“Temperature control is the secret to a flawless chocolate coating” – Pastry Chef Elena Rodriguez
The best coating temperature is between 80-85°F. This ensures your chocolate sets right without harming the ice cream.
| Chocolate Type | Melting Point | Recommended Use |
|---|---|---|
| Dark Chocolate | 115°F | Robust flavor profiles |
| Milk Chocolate | 110°F | Classic dessert coating |
| White Chocolate | 100°F | Delicate, smooth finish |
Getting good at chocolate coatings takes time, patience, and knowing about temperature. Try different methods to discover your ideal chocolate bar recipe.
Essential Tools and Equipment Needed
To make top-notch coated ice cream treats, you need the right tools. These tools turn your kitchen into a sweet workshop. The right gear can elevate your treats from good to great.
Here are the key tools for making amazing dipped ice cream snacks:
- Silicone bar molds for shaping ice cream
- Digital instant-read thermometer
- Dipping forks or specialized coating tools
- Parchment-lined baking sheets
- Cooling racks
- Insulated freezer containers
Quality equipment makes a big difference in your ice cream treats. A pro candy enrober helps coat evenly and keeps the chocolate at the right temperature.
| Equipment | Purpose | Estimated Cost |
|---|---|---|
| Digital Thermometer | Temperature control for chocolate | $20-$50 |
| Silicone Bar Molds | Shaping ice cream bases | $15-$30 |
| Dipping Tools | Precise chocolate coating | $10-$25 |
Pro tip: Look for multi-purpose tools that can handle different sizes of dipped ice cream snacks to maximize your kitchen investment.
“The right tools transform home cooking from a challenge to an art form.” – Culinary Experts
For those on a budget, many kitchen tools can also coat ice cream. A wire rack, parchment paper, and some skill can make your treats look pro without spending a lot.
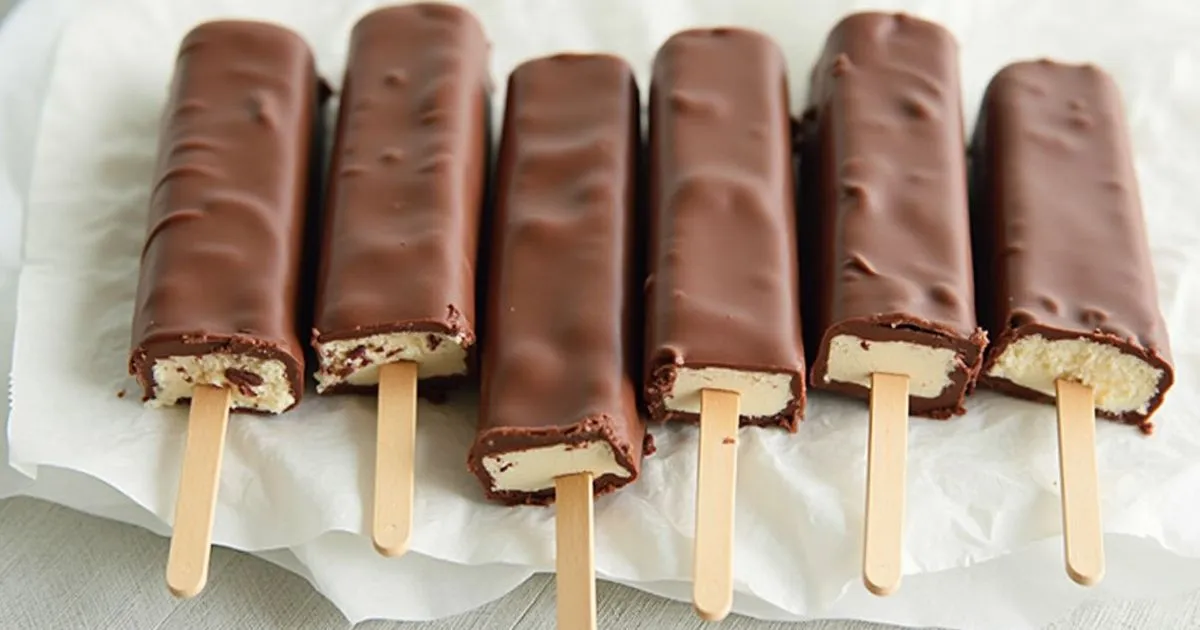
Step-by-Step Guide to Making Chocolate Covered Ice Cream Bars
Making chocolate covered ice cream bars at home is simple. With the right steps, you can turn basic frozen treats into gourmet goodies. They’ll be just as good as those from the store.
Preparing Your Ice Cream Base
Start by picking a top-notch ice cream for your bars. You can go for store-bought or make your own. Just pick a flavor that goes well with chocolate.
- Select your favorite ice cream flavor
- Allow ice cream to soften slightly
- Use a rectangular mold or loaf pan for shaping
Molding and Freezing Techniques
Getting the molding right is key for perfect treats. Line your mold with parchment paper. This makes the ice cream bars easy to take out.
- Pour softened ice cream into the mold
- Insert wooden sticks halfway through
- Freeze for at least 4 hours until completely solid
Dipping and Coating Methods
The chocolate coating is what makes your bars special. Tempering chocolate is important for a shiny, smooth finish.
| Chocolate Type | Melting Temperature | Coating Result |
|---|---|---|
| Dark Chocolate | 115°F | Rich, intense flavor |
| Milk Chocolate | 110°F | Creamy, sweet coating |
| White Chocolate | 105°F | Smooth, delicate finish |
“The secret to perfect chocolate covered ice cream bars is patience and precision.” – Culinary Expert
Pro tip: Work fast when dipping to avoid melting. Keep your area cool and have everything ready before you start.
Your homemade chocolate covered ice cream bars will wow everyone. With a bit of practice, you’ll get the hang of making these tasty treats!
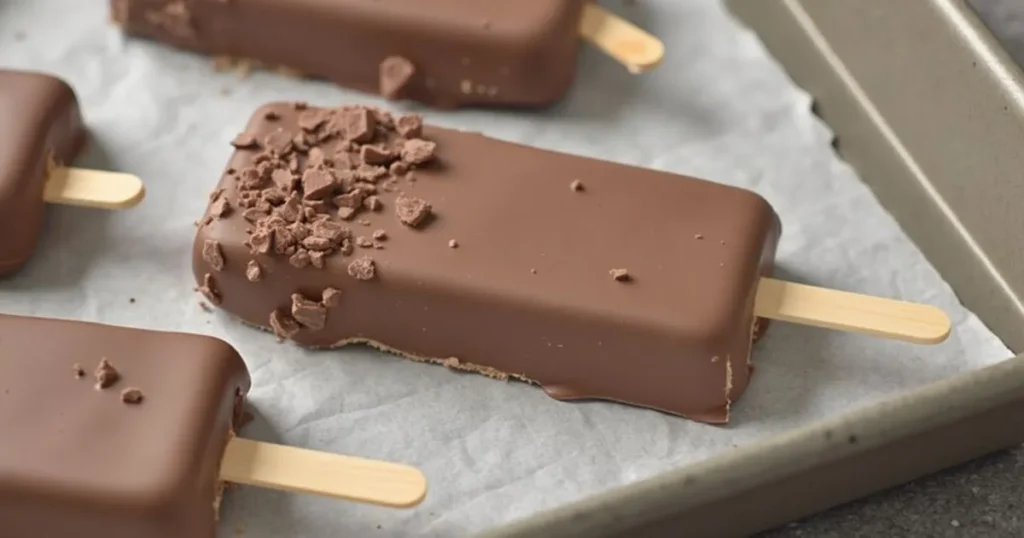
Adding Delicious Toppings and Textures
Make your frozen desserts stand out by adding the right toppings and textures. The perfect mix can turn your chocolate-covered ice cream bars into a feast for the eyes and taste buds.
Toppings do more than just look good. They make your ice cream novelties unforgettable. Since 80% of people love crunchy textures in their sweets, it’s key to include them.
Popular Topping Categories
- Crunchy options: Crushed cookies, granola, quinoa crisps
- Sweet additions: Chocolate chips, marshmallow crumbles
- Nutty textures: Chopped almonds, pistachios, pecans
- Fruit elements: Freeze-dried raspberries, strawberry pieces
Here are some topping trends to spark your creativity:
| Topping Type | Consumer Preference |
|---|---|
| Chocolate-based toppings | 75% popularity |
| Crunchy elements | 80% enjoyment rate |
| Unique/unexpected toppings | 45% consumer interest |
When adding toppings, timing and technique are crucial. Make sure your chocolate is slightly sticky but not hard yet. This helps toppings stick well. Try layering different textures for a richer experience.
Pro tip: Gourmet toppings like balsamic drizzle or caramel sauce can turn a simple ice cream bar into a gourmet dessert.
Let your imagination soar. With these tips, you’ll create ice cream novelties that are more than just treats. They’re edible masterpieces that excite and amaze.
Common Mistakes to Avoid When Making Frozen Treats
Making chilled chocolate bars can be tricky, even for experts. Knowing the common mistakes helps you make perfect frozen chocolate delights every time.
Temperature Control Challenges
Temperature is key when making frozen treats. If you don’t manage it right, your chilled chocolate bars can go wrong in seconds.
- Keep ice cream base between 0°F and 5°F during preparation
- Use a quick-freeze method to prevent ice crystal formation
- Ensure chocolate coating temperature stays around 86°F for optimal consistency
Coating Technique Problems
Getting a smooth chocolate shell needs precision and technique.
| Problem | Solution |
|---|---|
| Uneven coating | Use room temperature chocolate with 1/2 tablespoon coconut oil |
| Chocolate cracking | Allow bars to temper for 15 minutes before serving |
| Bubbles in coating | Tap excess chocolate off gently after dipping |
Storage Mistakes to Avoid
Proper storage keeps your frozen chocolate delights fresh for up to 2 months.
- Store in airtight container
- Keep in single layer to prevent sticking
- Maintain consistent freezer temperature
“The secret to perfect chilled chocolate bars is patience and precision.” – Artisan Dessert Maker
By knowing these common mistakes, you’ll make professional-quality frozen chocolate delights every time.
Storage and Serving Tips for Perfect Results
Making delicious frozen treats is more than just cooking. It’s about how you store and serve them. Your chocolate covered ice cream bars need special care to keep their amazing texture and taste.
- Store in an airtight freezer-safe container
- Keep at consistent freezer temperature of 0°F (-18°C)
- Separate layers with parchment paper to prevent sticking
- Consume within 3 months for optimal quality
Getting your frozen treats ready for serving needs some planning. Let them soften at room temperature for 5-10 minutes before serving. This brief tempering period ensures a perfect creamy texture.
“The secret to amazing dessert bars is patience and precise temperature control.” – Culinary Expert
Tracking nutrition helps manage portion sizes. Each chocolate covered ice cream bar has about:
- 262 calories
- 21g carbohydrates
- 4g protein
- 19g total fat
Pro tip for serving: Double-dip your bars in chocolate for a thicker, more luxurious coating. Your guests will be impressed by your professional-level frozen treats!
Conclusion
Making chocolate covered ice cream bars at home is an art. It mixes skill, creativity, and passion. This guide has given you the tools to turn simple ingredients into amazing frozen desserts.
The beauty of chocolate covered ice cream bars is their flexibility. You can go for classic dark chocolate or try new flavors. You now know how to make these treats, from choosing the right ice cream to creating the perfect chocolate shell.
Remember, making these treats better takes practice. Every batch you make will help you get better. Try new coatings, toppings, and share your creations with others.
Now that you know how to make chocolate covered ice cream bars, you can be creative in the kitchen. Enjoy the process and the tasty results. Keep exploring the endless possibilities of these delicious frozen treats.