Tips for creating no-bake cake pops at home
Ever craved those sweet treats from Starbucks but worried about the cost? You’re not alone. Imagine making delicious no bake cake pops at home. You won’t need fancy tools, and you’ll save money. Plus, you’ll create something truly special.
No bake cake pops are a game-changer for easy desserts. They turn leftover cake into tasty, bite-sized treats. With a few simple ingredients and some creativity, you can make cake balls that are just as good as store-bought ones. And they might even taste better!
Our guide will show you how to make these yummy cake balls. You’ll learn how to create professional-quality treats that will wow your family and friends. Whether it’s for a party or just a sweet treat, these no bake cake pops are the way to go.
Table of Contents
Understanding the Basics of Cake Pop Making
Turning your kitchen into a fun place is easy with no-bake desserts. Cake pops are a great way to make tasty treats from simple ingredients. They’re loved by all.
Before starting with cake pops, you need to know the basics. These small desserts need careful planning and the right ingredients. This ensures they turn out just right.
Essential Ingredients for Cake Pops
Start your cake pop journey by getting the right stuff. Here’s what you’ll need:
- 1 box of vanilla or white cake mix (8-inch/20cm cake)
- 1/4 cup vegetable oil (canola)
- 1/2 cup unsalted butter (room temperature)
- 1 cup icing sugar
- 1 tsp vanilla extract
- 1 tsp milk
Required Tools and Equipment
Get your workspace ready with these tools:
- Mixing bowls
- Baking sheet
- Parchment paper
- 40 cake pop sticks
- Microwave-safe bowl
- 3.5 cups chocolate/candy melts
Time Management and Preparation
| Preparation Stage | Time Required |
|---|---|
| Initial Rolling and Freezing | 10 minutes |
| Second Rolling and Freezing | 30 minutes |
| Total Preparation Time | 2 hours |
| Total Cooking Time | 26 minutes |
| Total Project Time | 7 hours |
“The magic of cake pops lies in the details and patience of preparation.” – Baking Enthusiast
Pro tip: Mix your frosting for exactly 4 minutes for the best texture. Use about 2/3 of a frosting container to keep your cake pops firm.
Selecting the Perfect Base Ingredients for No Bake Cake Pops
Making tasty treats like cake balls begins with picking the right ingredients. Your cake truffles can go from simple to amazing with the right mix. Whether you’re new to baking or have lots of experience, knowing the basics of no bake cake pops is key.
For your base, you have many tasty choices:
- Homemade cake crumbs
- Store-bought pound cake
- Gluten-free alternatives
“The secret to perfect cake pops lies in the quality of your base ingredients” – Professional Baker’s Tip
A typical recipe needs just 4 ingredients and makes about 40 cake pops for under $10. This makes homemade cake balls a very affordable treat compared to buying them.
Here are some ingredient tips:
- Cake Base: Chocolate or vanilla cake is best
- Binding Agent: Use cream cheese or vanilla frosting
- Gluten-Free Option: Mix 2 cups almond flour with tapioca starch
Pro tip: If using store-bought cake, aim for 4 cups of cake crumbs. This ensures your cake balls have the perfect texture. Your cake balls will appreciate your careful choice of ingredients!
The Art of Mixing and Forming Cake Balls
Making cake balls is all about precision and creativity. No-bake desserts are great for those who want tasty treats without baking. They turn simple ingredients into yummy little balls.
To make cake balls, you need to balance cake crumbs and frosting. You want a mix that sticks together well but stays smooth.
Proper Mixing Techniques
Begin by crumbling your cake into small, even pieces. It’s important to break it down fully, so there are no big chunks. Here are some tips for mixing:
- Crumble cake in a large, clean bowl
- Use your hands or a food processor for consistent texture
- Aim for breadcrumb-like consistency
Achieving the Right Consistency
The secret to great cake balls is the right frosting-to-cake ratio. Gradually add frosting until the mix holds when rolled. You’ll need about 3/4 of a frosting container for the best results.
Rolling Perfect Spheres
Rolling cake balls into perfect spheres takes patience and skill. Here’s how to do it:
- Use a tablespoon to measure consistent portions
- Roll mixture between your palms
- Chill for 10-30 minutes to firm up
- Re-roll for smoother, more perfect spheres
“The art of making cake balls is about precision and passion” – Pastry Chef Elizabeth Roberts
Pro tip: Chilling helps keep the shape during coating. This makes your cake balls look professional and appealing.
Chocolate Coating Secrets for Professional Results
Getting the perfect chocolate coating is key to making your treats look like they came from a bakery. The right method can turn your creations into something amazing in just a few minutes.
Start by picking the best chocolate. Experts say to use top-notch chocolate or candy melts for a smooth finish. You can use milk, dark, or white chocolate for your cake pops.
“The secret to a perfect chocolate coating is patience and temperature control.”
Chocolate Melting Techniques
- Use microwave-safe bowls for melting
- Melt chocolate in 30-second intervals
- Stir between each heating cycle
- Add 1 teaspoon of coconut oil per cup to thin chocolate
Here are some tips for dipping your cake balls:
- Make sure cake balls are well-chilled
- Tap off extra chocolate carefully
- Twirl to get an even coat
- Work fast to stop chocolate from hardening
| Chocolate Type | Melting Temperature | Recommended Oil |
|---|---|---|
| Milk Chocolate | 86-90°F | Coconut Oil |
| Dark Chocolate | 88-92°F | Vegetable Shortening |
| White Chocolate | 82-84°F | Coconut Oil |
If your chocolate gets too thick, just reheat it. It should be smooth and shiny for a pro finish on your cake pops.
Pro tip: Chill your cake pop stand in the freezer for 20-30 minutes before decorating to help the chocolate set quickly.
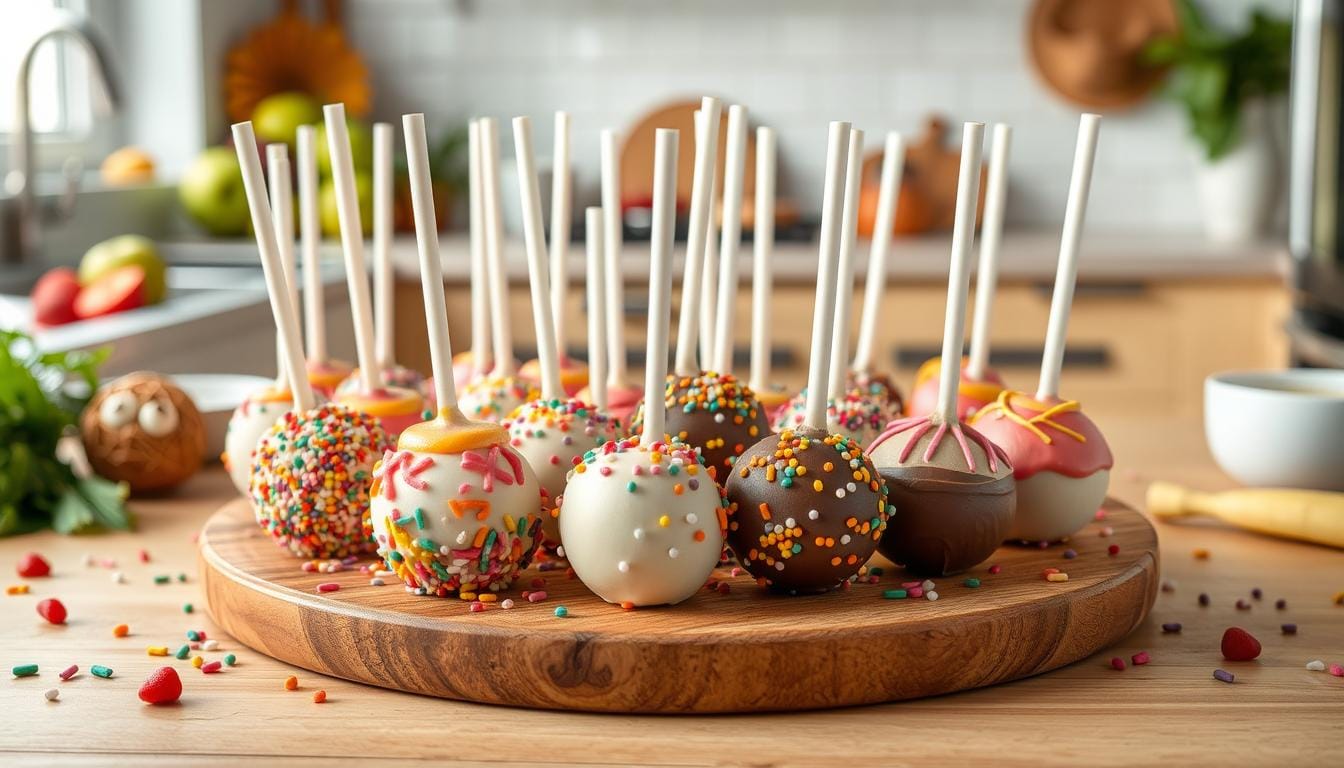
Creative Decoration Ideas and Toppings
Turning your no-bake cake pops into stunning desserts takes creativity and some smart decorating tricks. Whether for fun food projects with kids or a special event, the right toppings can make your cake pops stand out. They go from simple treats to eye-catching delights.
Sprinkle Combinations That Wow
Discover the magic of kid-friendly recipes with different sprinkles. Try these exciting mixes:
- Rainbow nonpareils for a burst of color
- Metallic dragées for elegant events
- Themed seasonal sprinkles for holidays
- Matching color schemes for specific parties
Color Schemes for Different Occasions
Your cake pops can be instant conversation starters with the right colors. For baby showers, use pastel blues and pinks. Halloween calls for orange and black, while Christmas inspires red and green.
Advanced Decorating Techniques
Take your cake pop decorations to the next level with these pro tricks:
- Drizzle contrasting chocolate over base coatings
- Create marble effects using multiple colors
- Use edible glitter for sparkle
- Experiment with textured coatings like crushed cookies
“The secret to amazing cake pops is letting your imagination run wild!” – Pastry Chef Emily Rodriguez
Remember to add toppings right after coating when the chocolate is still wet. This ensures they stick well and look stunning. Your party desserts will be a hit with everyone.
Storage and Shelf Life Tips
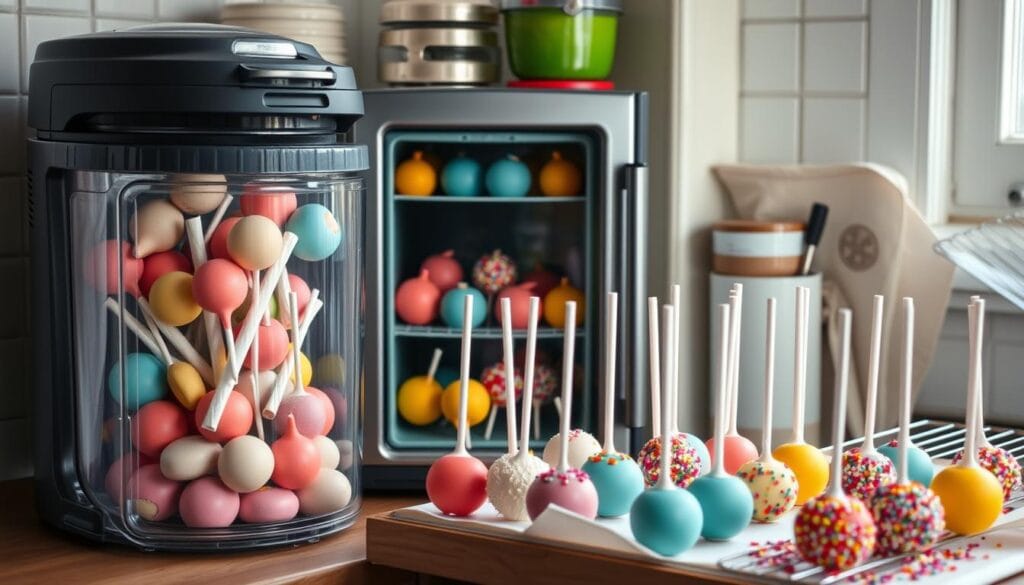
Making no-bake desserts like cake pops needs careful storage. This keeps them tasting great and feeling right. Your treats should stay fresh and enjoyable.
“The key to keeping cake pops delectable is understanding their storage requirements!” – Pastry Experts
Choosing the right temperature and container is key. Here are some tips for storing your no-bake desserts:
- Room Temperature Storage: Keep cake pops in an airtight container for up to 3-4 days
- Refrigerator Storage: Extends shelf life to 2 weeks when properly sealed
- Freezer Storage: Preserves cake pops for up to 3 months
For the best storage, follow these expert tips:
| Storage Method | Duration | Recommended Containers |
|---|---|---|
| Room Temperature | 3-4 days | Airtight plastic container |
| Refrigerator | Up to 2 weeks | Sealed container with paper towel lining |
| Freezer | Up to 3 months | Vacuum-sealed bags or wrapped in plastic |
Pro Tip: Always allow frozen cake pops to thaw gradually in the refrigerator. This prevents moisture buildup and keeps their texture delightful.
Keep your cake pops away from temperature changes and sunlight. Wrapping each pop individually helps keep their quality and prevents flavor mixing.
Troubleshooting Common Cake Pop Problems
Making perfect cake balls can be tricky. But, with the right techniques, you can solve most common problems. Let’s look at some practical solutions to make sure your cake pops always look great.
Preventing Cracking and Breaking
Many cake pop issues come from temperature and moisture problems. To avoid cracking:
- Make sure your cake crumbs mix well with frosting
- Throw away the dry outer layer of the cake
- Chill your cake balls at every step
- Keep the temperature the same when dipping
Fixing Coating Issues
Getting a smooth chocolate coating is key for professional cake balls. Here are some tips:
- Use Sweet Shoppe candy melts for the best results
- Melt chocolate in 15-30 second intervals in the microwave
- Stir between heating
- Keep candy melts under 90 degrees
Temperature Control Solutions
Managing temperature is crucial for cake pops. Try these strategies:
- Replace oil with butter or sour cream in your recipe
- Use Paramount Crystals or Crisco to thin candy melts
- Refrigerate cake balls before dipping
- Make small temperature changes between steps
“Perfect cake pops are all about patience and precision.” – Baking Experts
By using these troubleshooting tips, you’ll make stunning cake balls. They’ll impress everyone at any event.
Making Kid-Friendly No Bake Cake Pops
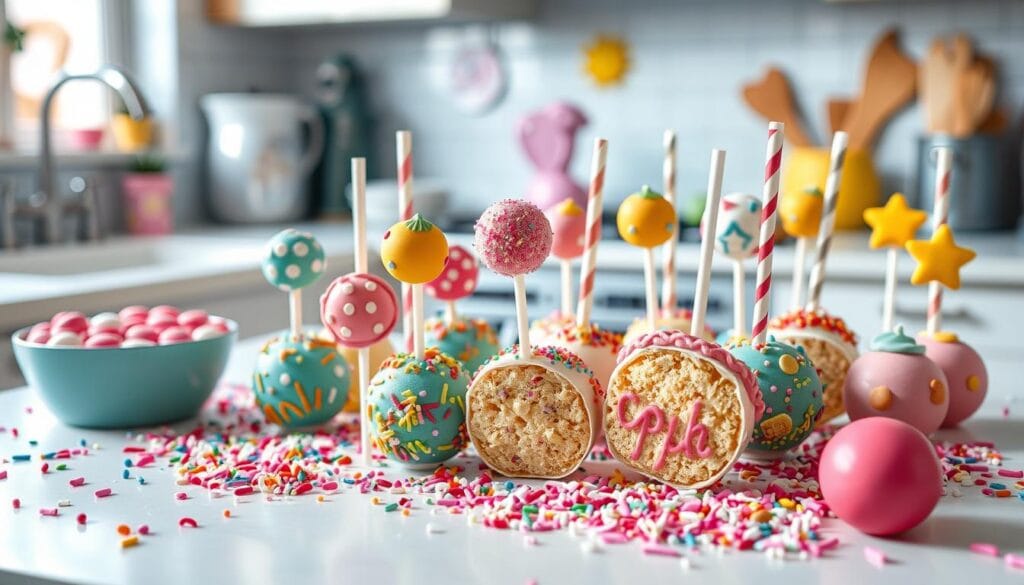
Spending time in the kitchen with your kids can be super fun. No bake cake pops are great for this. They let kids be creative and enjoy a tasty dessert. With simple ingredients and a bit of imagination, you can make treats that bring smiles.
“Cooking with kids is not just about making food, it’s about making memories!” – Unknown
Here are some tips for a fun and safe cake pop adventure:
- Choose vibrant candy melts in bright colors to attract kids’ attention
- Use safer alternatives like pretzel sticks instead of traditional cake pop sticks
- Let children help with mixing, rolling, and decorating
- Prepare ingredients in advance to keep the process smooth
The recipe makes about 25 cake pops. You’ll need:
- 16 ounces of pound cake
- ½ cup vanilla frosting
- 10 ounces white melting wafers
- ¼ cup colorful sprinkles
Each cake pop has about 93 calories. It’s a treat that kids will love making and eating. Encourage your kids to try different decorations and enjoy the kitchen fun!
Party Planning and Presentation Ideas
To make your treats stand out, you need creativity and planning. Cake pops are perfect for adding a wow factor to your parties. They make your food projects visually appealing for all ages.
Here are some cool ways to display your cake pops at your next party:
- Create a DIY cake pop stand using a decorated cardboard box with carefully placed holes
- Use clear mason jars filled with colorful candies as elegant cake pop holders
- Group cake pops by color scheme or flavor for maximum visual impact
- Coordinate cake pop decorations with your party’s overall theme
For themed parties, match your cake pop colors and decorations. Pro tip: Package individual cake pops in clear cellophane bags tied with matching ribbons for charming party favors.
“Presentation is everything when it comes to party desserts!” – Pastry Chef Recommendation
For a great display, use a sturdy cake pop stand. Arrange your treats to look their best. Don’t forget to chill your cake pops before the party to keep them fresh.
| Presentation Style | Best For | Difficulty Level |
|---|---|---|
| Mason Jar Display | Elegant Gatherings | Easy |
| Themed Color Grouping | Birthday Parties | Medium |
| Individual Wrapped Favors | Weddings/Showers | Advanced |
With these creative ideas, your cake pops will become the highlight of your party. Guests will love and remember them.
Conclusion
No bake cake pops have changed the game for easy desserts. They’re a fun and versatile treat for any event. Making cake pops is more than just baking—it’s about creating special moments that make people happy.
With just cake mix, frosting, and candy melts, you can make amazing no bake cake pops. They’re perfect for birthdays, holidays, or when you just want something sweet. These treats let you get creative and try new things.
Don’t be afraid to try new things with your cake pops. You can make them in chocolate, vanilla, or even funfetti. The best part is, you can keep them in an airtight container for up to a week. This way, you always have a tasty dessert ready.
Now that you know how to make no bake cake pops, you’ll impress everyone. Enjoy the process, get creative with your decorations, and have fun. These treats are sure to make everyone smile.

