No-Bake Cream and Chocolate Cake: 5 Easy Steps to Perfection
Summer afternoons used to mean hours of sweating in a hot kitchen. It was all about wrestling with complicated dessert recipes. But, it all changed when I found the magic of no-bake cream and chocolate cake. This easy dessert recipe makes baking simple and fun.
Imagine making a decadent dessert without using an oven. You just need a few high-quality ingredients. This no-bake cream and chocolate cake is perfect for home bakers who want delicious results with little effort. It’s great for summer gatherings or when you have a sudden sweet craving.
With just two main ingredients – dark chocolate and heavy cream – you can make a luxurious treat. It looks and tastes like it came from a professional bakery. The secret is using premium dark chocolate with 50-70% cocoa content and mastering a few simple techniques.
Table of Contents
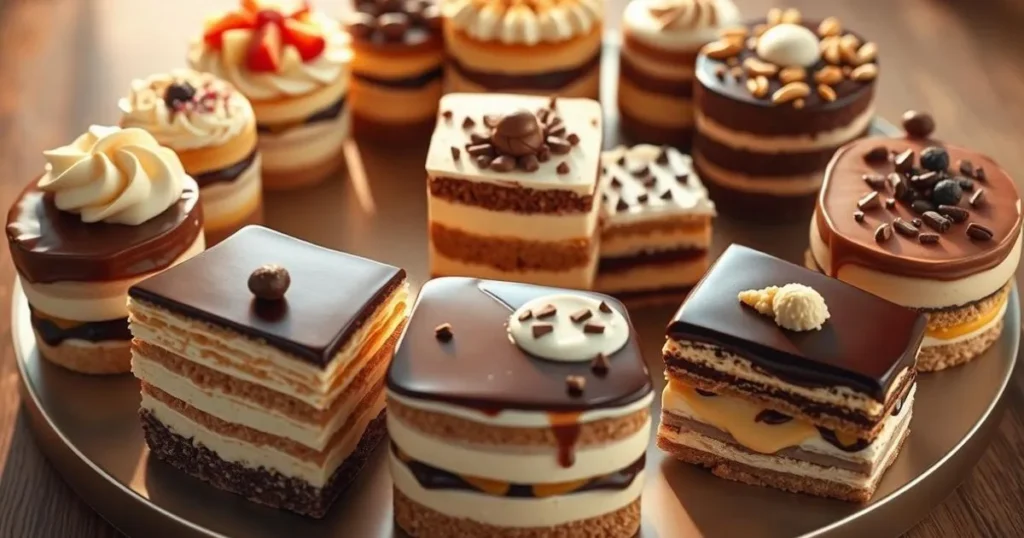
Understanding No-Bake Desserts: A Modern Kitchen Revolution
No-bake cakes have changed how we make desserts at home. They are a tasty option for those who don’t want to use the oven. This new way of making sweet treats has won over many in the culinary world.
History of Icebox Cakes
No-bake desserts started in the 1920s. Home cooks found a smart way to make desserts with little heat. Icebox cakes became a hit for cooling off during summer and satisfying sweet tooth.
“Innovation is the key to culinary excellence” – Unnamed Pastry Chef
Benefits of No-Bake Desserts
- Minimal kitchen equipment required
- Zero baking time
- Perfect for hot summer days
- Easy to customize and modify
Why These Desserts Gained Popularity
No-bake cakes became popular for several reasons:
| Factor | Impact |
|---|---|
| Time Efficiency | Reduced preparation time |
| Energy Savings | No oven required |
| Culinary Creativity | Increased recipe flexibility |
Today, people love the easy and flexible nature of no-bake cakes. With the global confectionery market expected to hit $586.3 billion by 2024, these desserts are more than a trend. They are a true culinary revolution.
Essential Ingredients for Your No-Bake Cream and Chocolate Cake
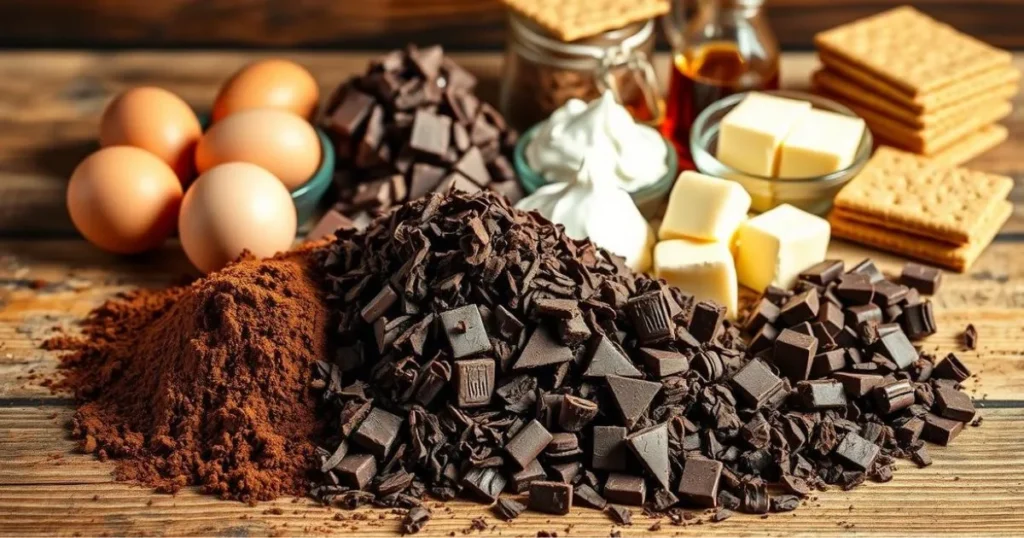
Making delicious chocolate cake recipes needs the right ingredients. Your no-bake cream cake recipes need top-notch parts to turn simple things into a fancy dessert.
Key Ingredients Breakdown
- Biscuits: 800g of Morning Coffee/Petit Beurre biscuits for the base
- Cocoa Powder: 50g for rich chocolate flavor
- Sugar: 100g for balanced sweetness
- Butter: 250g melted to bind ingredients
- Milk: 60ml to create the perfect mixture
Pro tip: The quality of your ingredients directly impacts the final taste of your no-bake chocolate cake.
Chocolate and Cream Essentials
| Ingredient | Quantity | Purpose |
|---|---|---|
| Heavy Cream | 250 ml | Create smooth ganache |
| Chocolate | 200g (70-80% cocoa) | Rich chocolate flavor |
| Mixed Nuts | 100g (optional) | Add texture |
“The secret to an incredible no-bake cake lies in selecting premium ingredients.” – Pastry Chef Recommendation
When making your chocolate cake recipes, think about these ingredient tips. The right mix makes a simple dessert into a special treat.
Special Ingredient Tips
- Use high-quality chocolate with 70-80% cocoa content
- Choose fresh, full-fat ingredients for maximum flavor
- Optional enhancers: 1/2 teaspoon allspice, 2 teaspoons ground espresso
Your no-bake cream cake recipes will stand out with these chosen ingredients. Remember, each part is key to a dessert you’ll remember.
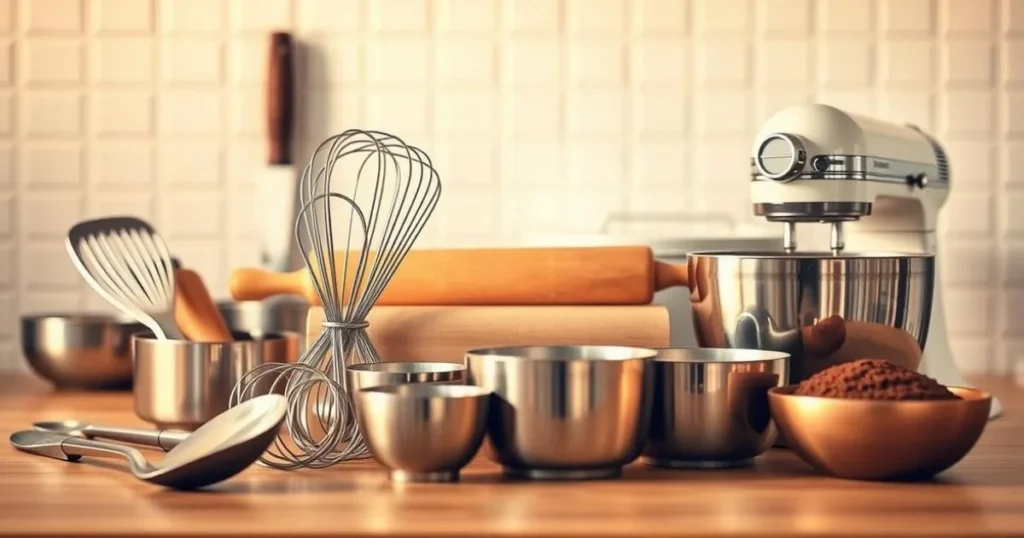
Kitchen Tools and Equipment Needed
Making quick desserts like no-bake cream and chocolate cake needs the right tools. The right equipment makes your no-oven desserts look and taste great. It makes cooking fun and easy.
Essential Utensils for No-Bake Desserts
For no-oven desserts, you need a few key tools. Here are the must-haves:
- 8×8 Pyrex baking dish
- Mixing bowls of various sizes
- Silicone spatula
- Measuring cups and spoons
- Whisk for smooth mixing
Professional Equipment for Enhanced Results
While not essential, these tools can make your desserts even better:
- Digital kitchen scale for precise measurements
- Springform pan (6-inch recommended)
- Offset spatula for smooth layering
- Pastry bag with decorative tips
Storage Containers for Preserving Freshness
Storing your no-bake desserts right keeps them fresh. Here are some good storage options:
| Container Type | Best For | Storage Duration |
|---|---|---|
| Airtight plastic container | Short-term storage | Up to 3 days |
| Glass container with lid | Refrigerator storage | 3-4 days |
| Freezer-safe container | Long-term preservation | Up to 1 month |
“The right tools can turn a simple recipe into a culinary masterpiece.” – Dessert Chef
Pro tip: Always clean and dry your tools before starting. This ensures the best results for your no-oven desserts.
Preparing the Perfect Cookie Base
Making the base for your no-bake cakes is key. It needs the right ingredients and care. The cookie base gives your dessert its structure and taste.
For the best no-bake cake base, choose from two main cookies:
- Oreo cookies (classic choice)
- Graham crackers (traditional alternative)
Here’s how to prepare the perfect cookie base:
- Select 25 Oreo cookies from a 14.3-ounce package
- Crush cookies into fine, uniform crumbs
- Melt 5 tablespoons of unsalted butter
- Mix cookie crumbs with melted butter thoroughly
- Press mixture evenly into your chosen pan
“The secret to a perfect no-bake cake is a well-prepared, solid cookie base that complements your filling.” – Pastry Chef Recommendation
Press the cookie mixture with the back of a flat measuring cup. Chill the base for 30 minutes before adding your cream or chocolate layers.
| Ingredient | Quantity | Purpose |
|---|---|---|
| Oreo Cookies | 25 cookies | Base foundation |
| Unsalted Butter | 5 tablespoons | Binding agent |
| Chilling Time | 30 minutes | Setting base |
Pro tip for your no-bake cakes: Make sure your butter is fully melted but not too hot. This makes your base perfect for your easy dessert recipes.
Mastering the Cream Filling Technique
Making the perfect cream filling is an art. It turns simple cream cake recipes into rich chocolate treats. Success comes from knowing the right mix of ingredients and techniques.
Getting the right consistency is key. When making your cream filling, keep these tips in mind:
Achieving the Right Consistency
- Use heavy cream with at least 35% milk fat content
- Whip cream to soft peak stage for optimal texture
- Chill mixing bowl and whisk before whipping
Flavor Enhancement Tips
Boost your cream cake recipes with these tips:
- Incorporate pure vanilla extract
- Experiment with espresso powder for depth
- Add a pinch of salt to balance sweetness
| Ingredient | Quantity | Purpose |
|---|---|---|
| Heavy Whipping Cream | 1 1/2 cups | Base for cream filling |
| Vanilla Extract | 1 teaspoon | Flavor enhancement |
| Powdered Sugar | 1/4 cup | Sweetness and stabilization |
Common Mixing Mistakes to Avoid
Be careful of these common mistakes when making your chocolate treats:
“Patience is key when creating the perfect cream filling. Rush the process, and you’ll compromise the entire dessert.”
- Avoid over-whipping cream (it becomes grainy)
- Don’t use warm ingredients
- Fold ingredients gently to maintain volume
Pro tip: Chill your mixing bowl and whisk for 15 minutes before starting. This keeps the cream cool and helps achieve the perfect texture for your cream cake recipes.
Chocolate Ganache: Tips for Silky Smooth Results
Making the perfect chocolate ganache is an art. It turns simple chocolate treats into something amazing. Getting it right is key for bakers at home.
The secret to smooth ganache is the right mix of chocolate and cream. Experts say use equal parts by weight. That’s 8 ounces of chocolate and 1 cup of heavy cream.
“Precision is the secret ingredient in creating the most luxurious ganache.” – Professional Pastry Chef
For the best ganache, you need:
- High-quality chocolate (semisweet or bittersweet)
- Heavy cream with at least 36% milk fat
- Optional: corn syrup for extra shine
When making ganache, temperature is everything. Mix between 90°F to 110°F. This keeps it smooth and prevents it from separating.
| Ganache Type | Chocolate | Cream | Consistency |
|---|---|---|---|
| Thin/Pourable | 4 oz | 1 cup | Drizzling |
| Standard | 8 oz | 1 cup | Spreading |
| Thick/Truffle | 8 oz | 1/2 cup | Piping |
Here are some tips for perfect ganache in your chocolate cakes:
- Chop chocolate evenly for better melting
- Pour hot cream slowly while stirring
- Let it rest 5 minutes before mixing again
Storing ganache is easy. Keep it in the fridge in an airtight container for a week. Or freeze it for three months. Always cover it with plastic wrap to avoid film.
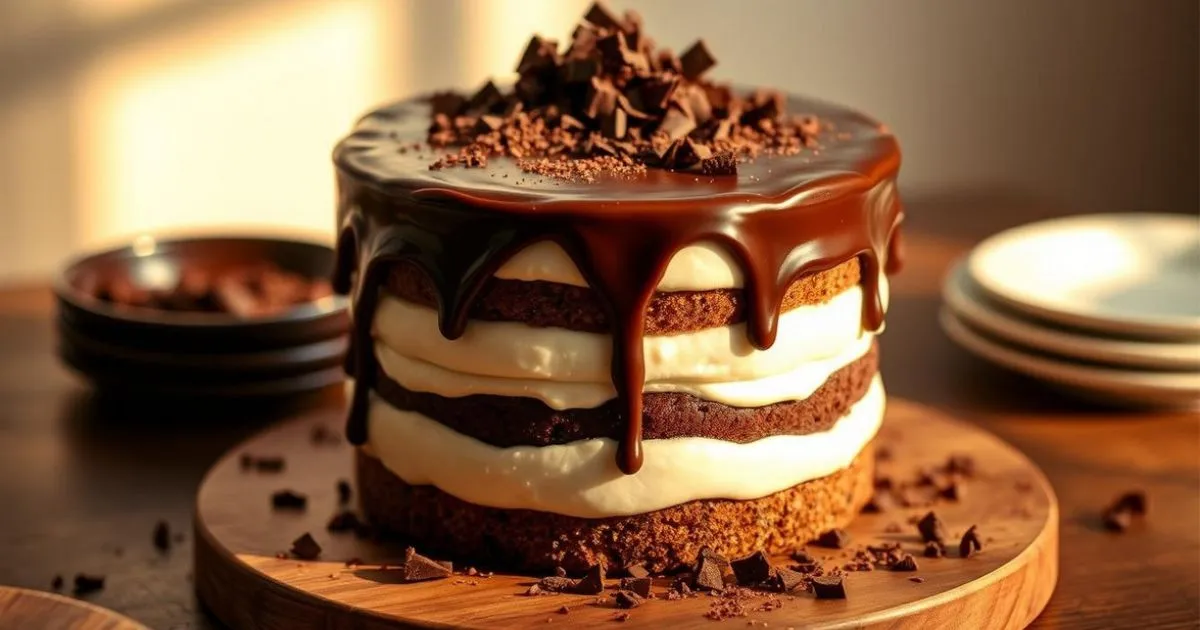
Layer Assembly Process
Making a no-bake cream and chocolate cake is all about being precise and patient. It turns simple ingredients into a delicious chilled dessert that will wow your guests.
Building Strong Layers
Begin with a solid base for your no-bake cake. You need to make even, stable layers that will stick together well:
- Start with 150g of chocolate chip cookies for the base layer
- Use 30g of melted butter to bind the cookie crumbs
- Press the mixture firmly into the pan
- Refrigerate the crust for 20 minutes to set
Timing Between Layers
Timing is key when building your chilled dessert. Each layer needs special care:
- Let the cookie base chill for 20 minutes
- Prepare the cream filling and let it set for 30 minutes
- Make the chocolate ganache and let it cool for 20 minutes
Visual Appeal Tips
Enhance your no-bake cake with these presentation tips:
- Use a springform pan for clean, straight edges
- Smooth each layer with an offset spatula
- Make layers about 1-2 cm thick
- Garnish with chocolate-covered espresso beans or fresh raspberries
“The secret to a perfect no-bake cake is patience and precision in layering.” – Pastry Chef Recommendation
By sticking to these steps, you’ll make a stunning chilled dessert. Each layer adds to the cake’s texture and taste.
Chilling and Setting Guidelines
Making perfect no-oven desserts needs patience and the right chilling methods. Desserts like the no-bake cream and chocolate cake need careful cooling. This ensures they have the right texture and taste.
It’s key to understand the chilling process when making no-oven desserts. You should chill them for 4-8 hours. Chilling them overnight usually gives the best results.
“Patience is the secret ingredient in creating remarkable no-bake summer desserts.”
Optimal Chilling Strategies
- Refrigerate for at least 4-6 hours to ensure proper setting
- Overnight chilling (8-12 hours) provides maximum flavor development
- Cover the dessert with plastic wrap to prevent moisture absorption
- Maintain consistent refrigerator temperature around 40°F
| Chilling Duration | Expected Result |
|---|---|
| 4-6 hours | Decent set, moderate flavor integration |
| 8-12 hours | Perfect texture, enhanced flavor profile |
| 24 hours | Maximum flavor development |
If you’re short on time, chill the dessert in the coldest part of your fridge. Remember, proper chilling is key for a smooth, creamy texture in your no-oven summer desserts.
Pro tip: Always use a deep, clean refrigerator shelf. Avoid placing the dessert near strong-smelling foods. They can affect its delicate flavor.
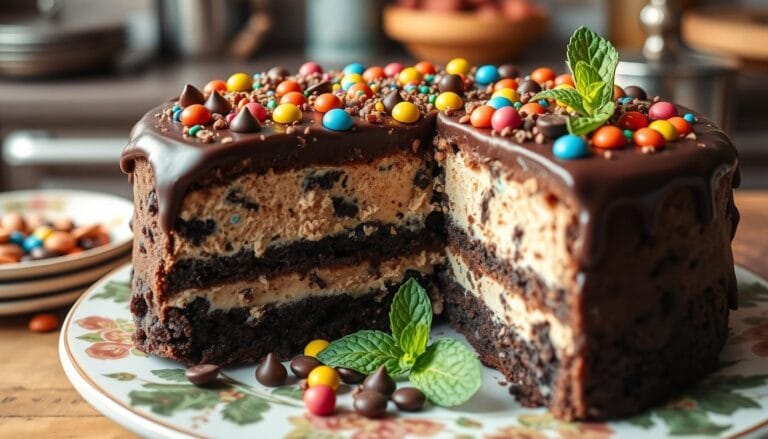
Decoration and Presentation Ideas
Turn your no-bake cream and chocolate cake into a showstopper. These creative decoration techniques will impress your guests. Quick dessert ideas can make a simple cake look like a masterpiece with just a few touches.
Your decadent chocolate treats need an elegant finish. Here are some eye-catching decoration options:
- Chocolate Shavings: Create delicate curls using a vegetable peeler on a chocolate bar
- Whipped Cream Piping: Use a star-tipped pastry bag for professional-looking rosettes
- Ganache Drizzle: Drip rich chocolate ganache around the cake’s edges
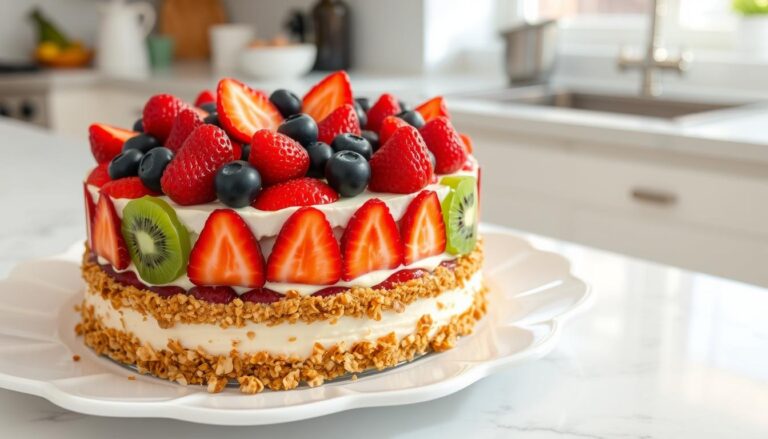
- Fresh Berries: Garnish with raspberries or strawberries for color contrast
- Edible Flowers: Add delicate petals for an elegant touch
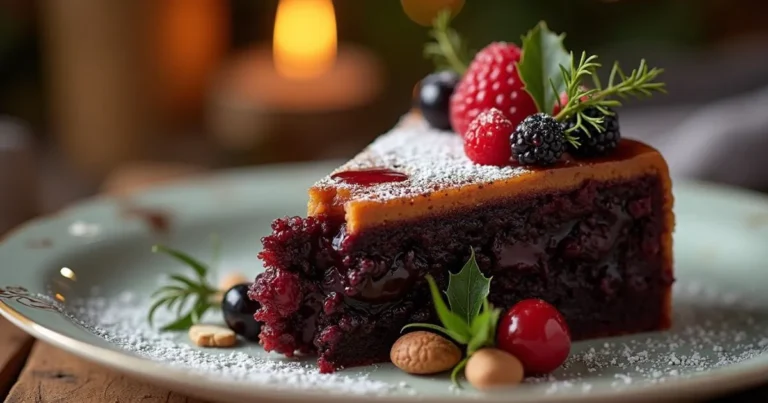
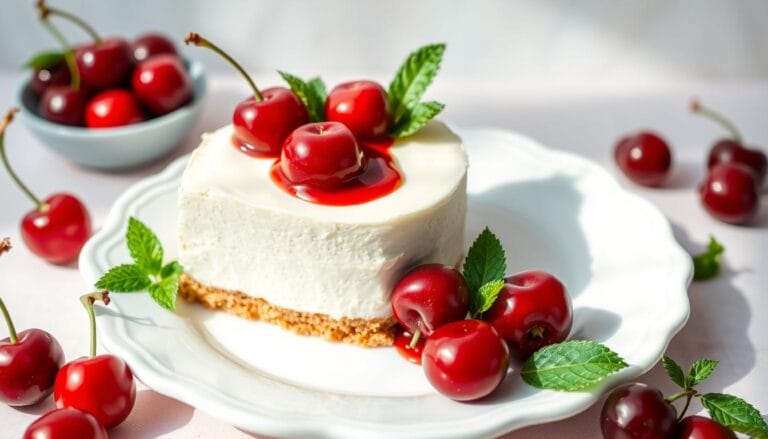
Seasonal variations can make your presentation even better. In summer, add fresh mint leaves. During winter, sprinkle crushed peppermint candies. Each decoration turns your cake into a feast for the eyes and taste buds.
Pro tip: Chill your cake before adding final decorations to ensure a crisp, professional look.
With these simple techniques, you’ll make a dessert that’s both delicious and stunning. Your no-bake cream and chocolate cake will be the star of any gathering.
Storage Tips and Shelf Life
Keeping your chilled desserts fresh is key. Summer treats like no-bake cream and chocolate cake need special care. This helps keep their taste and texture perfect.
Your no-bake cake is a masterpiece. To enjoy it fully, follow these storage tips:
Refrigeration Recommendations
- Store your cake in an airtight container
- Keep refrigerated at 40°F or below
- Consume within 3-4 days for optimal taste
Freezing Techniques
Freezing is a great way to keep your desserts fresh longer. Here’s how to freeze them right:
- Wrap the cake tightly in plastic wrap
- Add a layer of aluminum foil for extra protection
- Label with the date of preparation
- Freeze for up to 6 months
Freshness Indicators
Look out for these signs to keep your desserts safe:
- Unusual odors
- Visible mold
- Significant texture changes
- Separation of cream layers
“The key to enjoying any dessert is knowing how to store it properly” – Pastry Chef Recommendations
Pro tip: Always use clean utensils when serving. This helps prevent bacteria and keeps your cake fresh longer. Proper storage keeps your dessert tasty and safe to eat.
Troubleshooting Common Issues
Making perfect no-bake cakes can be tough, even for experts. Knowing common problems helps you make delicious desserts with ease. Let’s look at the most common issues when making no-bake cakes.
Common Challenges in No-Bake Cake Preparation
- Runny Filling: Often caused by not chilling enough or wrong ingredient mix
- Crumbly Crust: Happens when using too dry or too wet cookie crumbs
- Difficult Slicing: Usually means layers weren’t done right or didn’t set long enough
About 25% of no-bake cakes face texture problems. Success comes from measuring ingredients right and preparing carefully.
Solving Texture and Consistency Problems
| Issue | Potential Cause | Solution |
|---|---|---|
| Runny Filling | Incorrect cream cheese temperature | Make sure ingredients are at room temperature |
| Crumbly Crust | Not enough binding agent | Add more melted butter |
| Poor Setting | Not chilled enough | Chill for at least 4-6 hours |
“Precision is the secret ingredient in creating perfect no-bake cakes” – Professional Pastry Chef
Temperature is key when making no-bake cakes. About 30-40% of problems can be fixed by controlling ingredient temperatures and mixing right.
Pro Tips for Perfect Results
- Use digital scales for exact measurements
- Let ingredients get to room temperature
- Chill layers between putting them together
- Use fresh, high-quality ingredients
Remember, the more you make, the better you’ll get. Every no-bake cake you make brings you closer to being a pro at these tasty treats.
Conclusion
Making a no-bake cream and chocolate cake is more than a recipe. It’s a fun experience that brings happiness to your kitchen. This easy dessert uses simple ingredients like graham crackers, cream cheese, and chocolate chips. It turns into a rich treat that wows everyone with little effort.
Your no-bake cake shows off your creativity in the kitchen. It only takes six steps and ingredients you likely have at home. This makes a dessert that looks and tastes like it was made by a pro. Plus, you can make it your own by changing it up to fit your taste or dietary needs.
Getting better at making this dessert takes time. Each try, you’ll learn new tricks that make it even better. It’s perfect for birthdays or just hanging out with family. This no-bake cake will become a favorite in your kitchen.
We encourage you to share your baking adventures. Try new toppings, use different graham crackers, or change the chocolate flavor. Your special twist on this classic could inspire others and make unforgettable memories.